Sync for iCloud Contacts version 13.3.3 is being rolled out to users on the Google Play Store. This update contains the following fixes and improvements:
- Minor bug fixes to back-end code.
Sync for iCloud Contacts version 13.3.3 is being rolled out to users on the Google Play Store. This update contains the following fixes and improvements:
Sync for iCloud Contacts version 13.3.2 is being rolled out to users on the Google Play Store. This update contains the following fixes and improvements:
Anyone who has used an iOS device is aware of Apple’s restriction of its services being usable only on their own devices. As a result, Apple uses this technique in order to try to lock their user base to their products.
If you are switching from an iOS device to an Android device, you might think that it is difficult to get your data from your iCloud account on your Android device, without having to export everything and moving to another serivce provider, such as Google Cloud.
In this guide, I will be showing you how to gain access to your data found on your iCloud account on your Android device without having to export any data. We will be using the Sync for iCloud application suite on Android in order to access the iCloud data directly on your mobile or tablet running Android.
Grab your mobile phone or tablet running Android and open Google’s Play Store application.
Once you have opened the Play Store, press on the search icon and search for ‘Sync for iCloud’. Once found, install the app.
If you want to get your iCloud contacts and your iCloud mail synced as well, install these applications too.
Once installed, open Sync for iCloud. The first thing you would want to do is to generate an app-specific password. This can be done by pressing on ‘Add Account’ and then pressing on ‘Generate App Specific Password’.
You will be taken to Apple’s website in the in-app browser where you can generate the app-specific password. Make sure to copy the password.
Go back to the Sync for iCloud log in screen and enter your iCloud username and paste the app-specific password.
Press on the ‘Log in’ button to log in. Once logged in, select the calendars you want to sync. You can do the same process in Sync for iCloud Contacts to get your contacts, and in Sync for iCloud Mail to sync your mail.
A lot of websites have been showing users how to add iCloud functionality to Android devices. Unfortunately, the steps shown in the tutorials consist of several complicated steps. Furthermore, the steps would sometimes result in having to export data from your iCloud account in order to be able to use them on Android.
In reality, you can easily get iCloud data synced to your Android device without having to go through complicated steps. All you need to do is to download Sync for iCloud.
Sync for iCloud lets you log in to your iCloud account from any Android device and keep data synced. Our suite of apps currently support syncing of calendars, contacts and emails. Furthermore, the apps have been tailored around Apple’s iCloud services, with particular focus on user experience and security.
You can download Sync for iCloud for free from the Google Play Store by going here: https://play.google.com/store/apps/details?id=com.granita.caldavsync
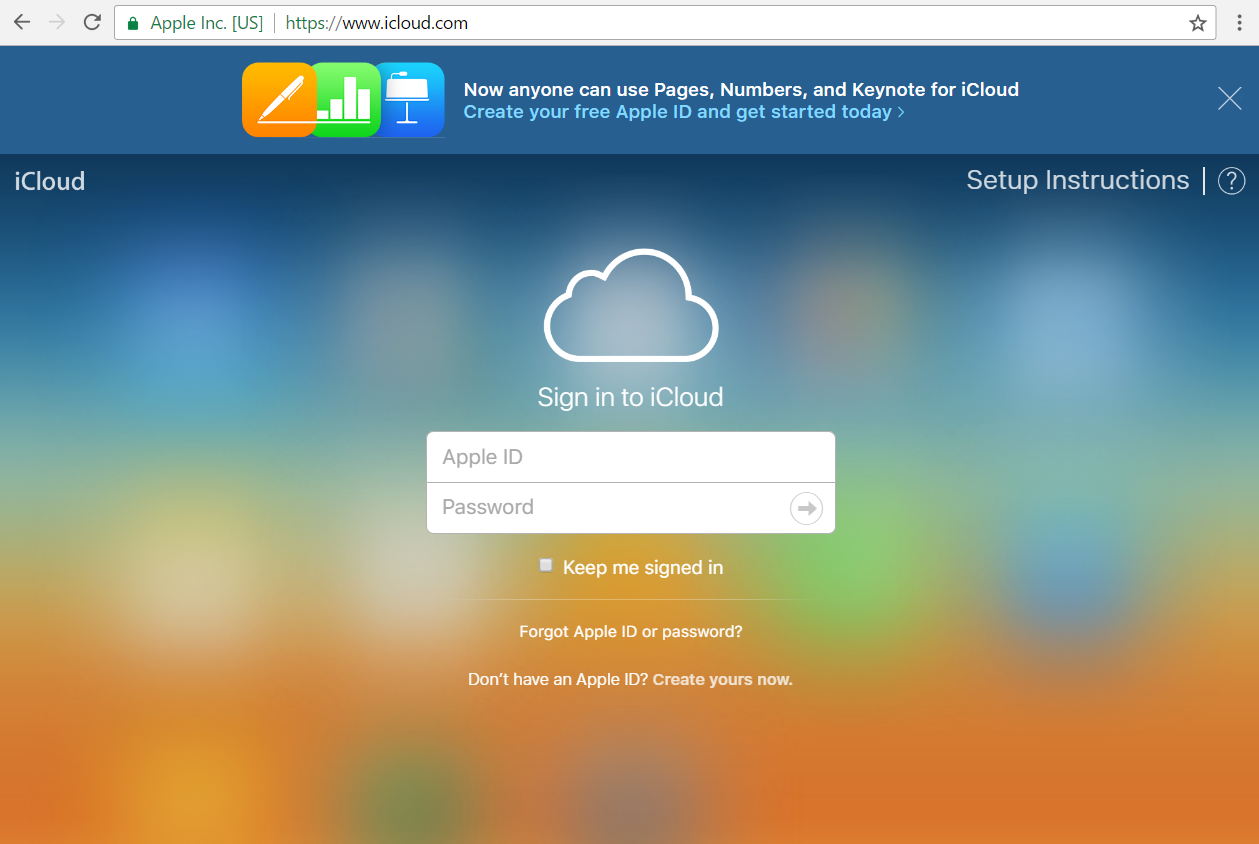
Sync for iCloud, Sync for iCloud Contacts, and Sync for iCloud Mail do not support Apple’s latest authentication methods. Therefore, to log in to your account, you need to create an app specific password.
The steps below will show you how to check whether you have Apple’s latest authentication method enabled, and how to generate an app specific password. Each time you change your password, you must create a new app specific password.


